
Laser printers have been a popular option with businesses for decades and Brother® is a brand that has always done a great job with their monochrome printer series in particular, consistently offering a solid range of models year after year. All Brother laser printers include a black toner cartridge that is equally respected and boasts consistently crisp prints at a low operating cost. Today, we will be skipping the printer conversation so that we can focus solely on Brother toner cartridges. We’ll be touching on the most popular Brother toner cartridges and also discuss toner cartridge installation as well as troubleshooting.
Meet the Cartridges
First, let’s introduce the Brother monochrome cartridges. Each series that is mentioned includes a standard yield and high yield cartridge option (we list the standard yield cartridge number first, followed by their high yield counterpart). If you’re unfamiliar with what high yield or high capacity means, it’s the term used to describe cartridges that contain more ink: more pages printed = higher page yield = high yield. Standard cartridges are moderately filled with toner and produce a smaller number of prints than the high yield. Consumers that only print a couple of times a month will be fine investing in these less expensive cartridges, but anything more and it’s probably better to spring for the high yield. For example, the standard yield TN-730 offers a yield of 1,200 pages, while the high yield TN760 offers 3,000 pages. If you are looking for a more affordable option, consider buying the compatible version of the Brother brand from LD Products!
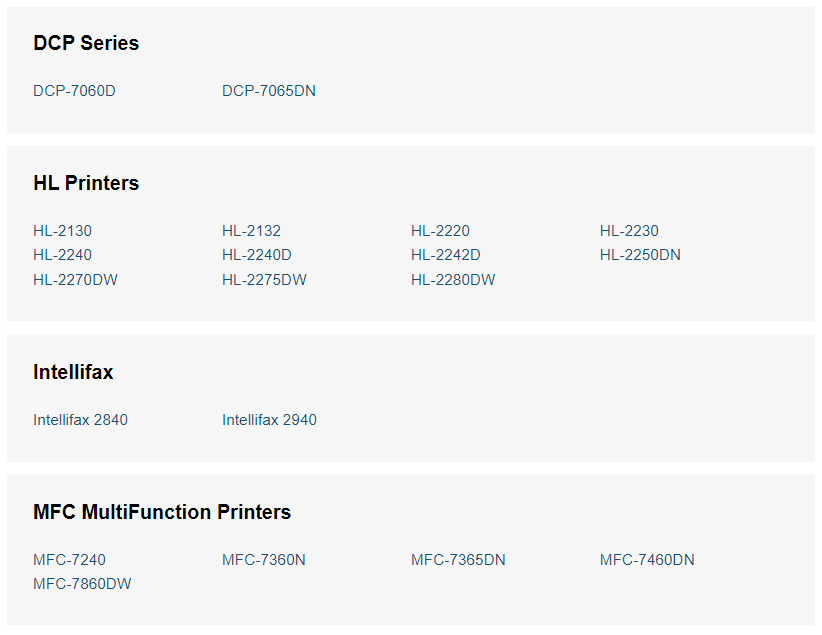
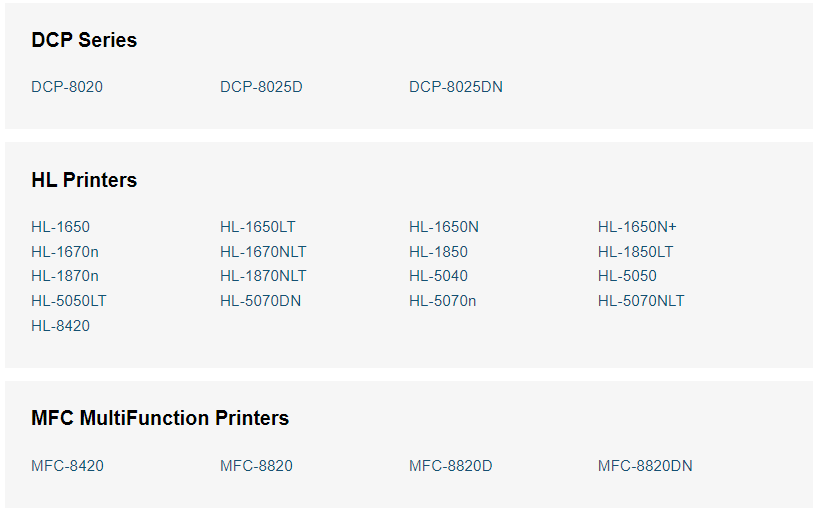
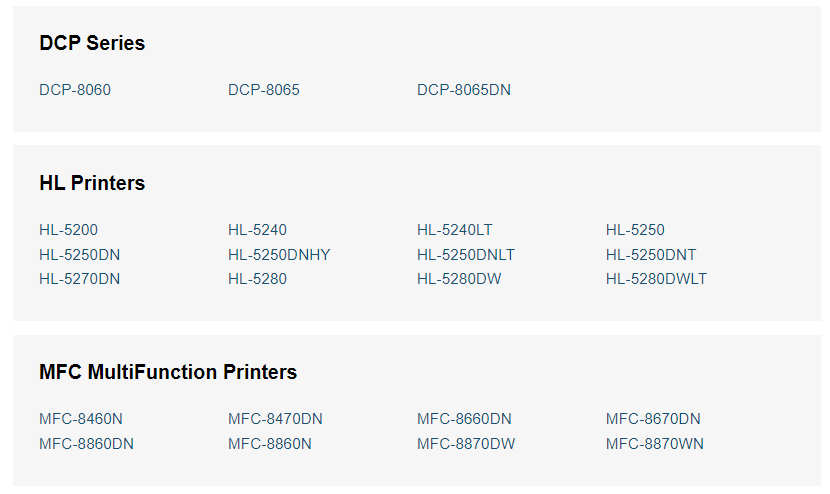
Here’s a list of top Brother toner cartridges with a list of printers they are compatible with:
- Brother TN420 / TN450 Cartridges
- Brother TN530 / TN560 Cartridges
- Brother TN540 / TN570 Cartridges
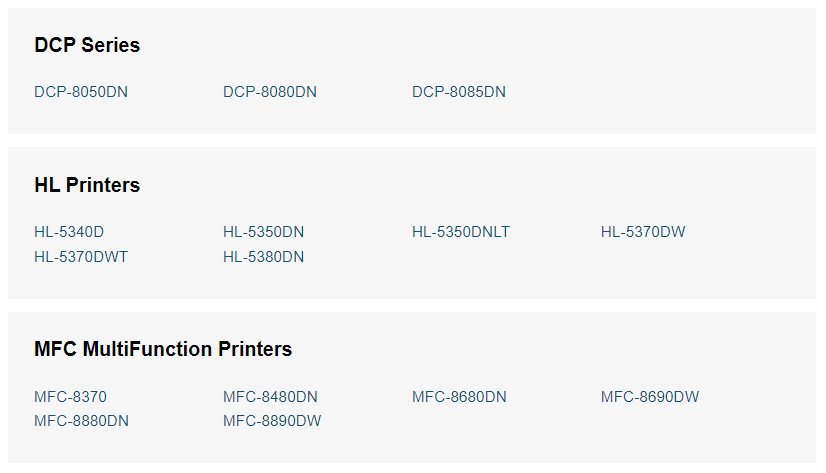
- Brother TN550 / TN580 Cartridges
- Brother TN620 / TN650 Cartridges
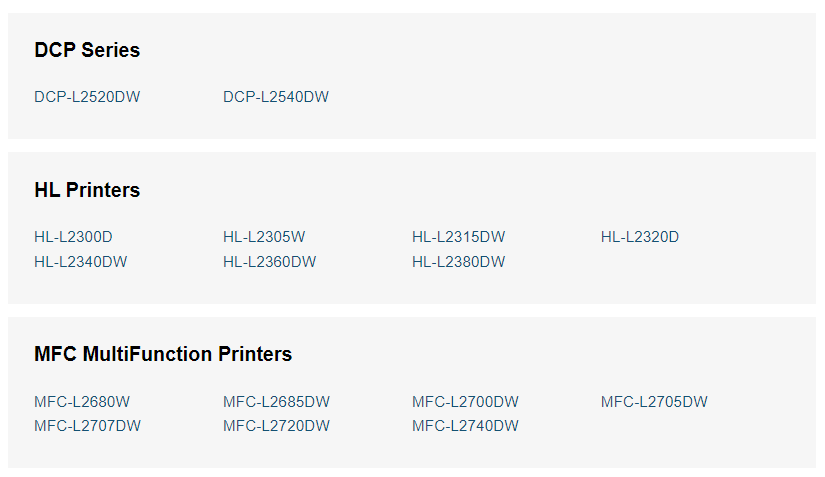
- Brother TN630 / TN660 Cartridges
- Brother TN720 / TN750 Cartridges
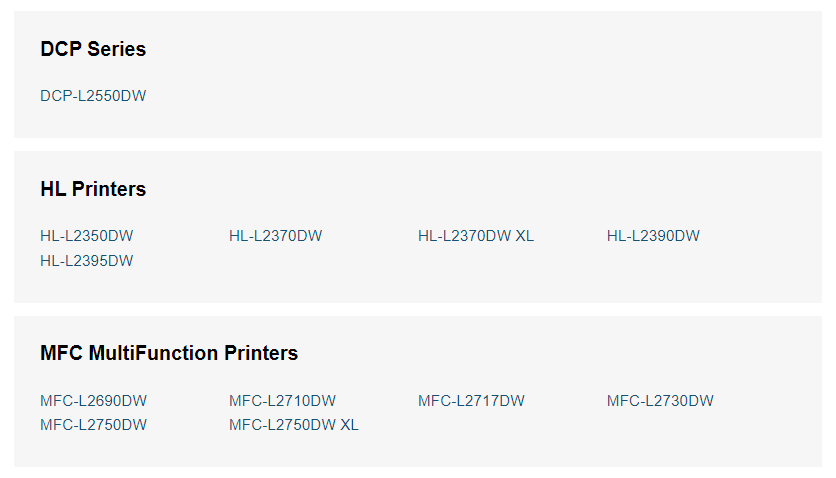
- Brother TN730 / TN760 Cartridges
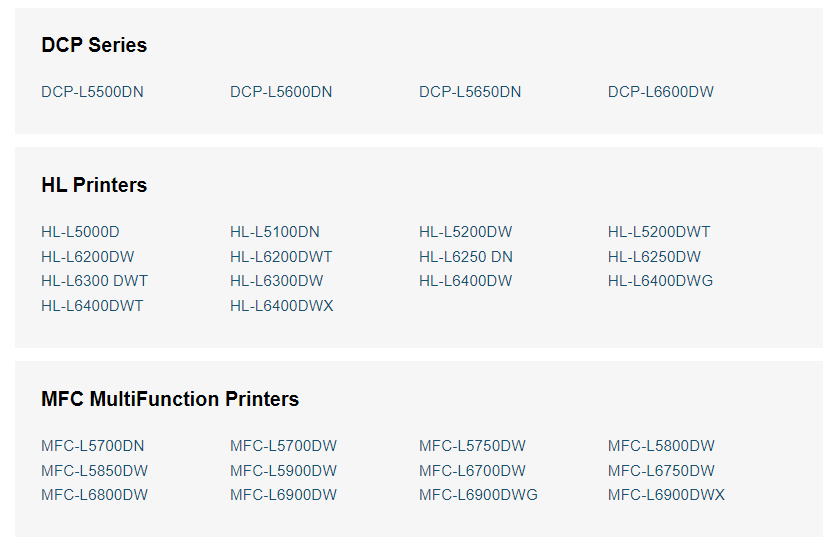
- Brother TN820 / TN850 Cartridges
Here are some Brother installation and troubleshooting tips:
- How to Install a Brother Toner Cartridge
- How to Replace a Brother Drum
- How to Reset a Brother Drum
- How to Reset Brother Toner Life
- Dealing with Brother Print Quality Issues
- Dealing with a Drum Not Fitting
Brother TN420 / TN450 Series


Brother TN530 / TN560 Series
Brother TN540 / TN570 Series

Brother TN550 / TN580 Series
Brother TN620 / TN650 Series
Brother TN630 / TN660 Series


Brother TN720 / TN750 Series


Brother TN730 / TN760 Series
Brother TN820 / TN850 Series


How to Install a Brother Toner Cartridge
Although the actual toner installation process for each printer is slightly different across machines, the basic mechanics are the same. Toner cartridge replacement varies depending on the type of documents you print. Every toner cartridge has a page yield that determines the average life of the toner cartridge based on 5% page coverage. You will know it’s time to replace your toner cartridge when your printer’s displays: “Toner Low”. To replace your toner, follow these easy steps:
- Before installing a new cartridge, remove the protective covering that surrounds the toner. This cover protects the cartridge during shipment and the toner will not fit properly if it is still attached.
- Gently shake the cartridge back and forth a couple of times to redistribute the toner powder. A small amount of toner may emit from the cartridge, so be sure you do this over a trash can to avoid a mess.
- Every Brother toner cartridge fits into a drum unit. The drum unit sort of looks like a tray and you will need to remove it from your printer in order to install the cartridge. Other major printer brands like HP and Canon sell their cartridges with the drum unit built into the toner but Brother sells them as two separate consumables. The toner cartridge should click into the drum unit easily. Make sure it is locked in securely, otherwise it will not fit into your machine.
- Clean the corona wire located on top of the drum unit by sliding the small tab from right to left a few times.
- Put the toner and drum back into the printer (they should now be one combined unit) and close the front cover.
We also have a video on the installation process below. The steps are for installing a TN760 toner cartridge in a Brother HL-L2350DW. Steps will vary depending on what printer you own, so be sure to check your manual before installing.

- Open up the cartridge door on the front of the printer.
- Remove the toner and drum unit from the printer. These two parts will come out connected together as one piece.
- Place the toner/drum unit on a flat surface.
- To remove the toner from the drum unit, pull down on the small green tab on the left side of the drum.
- The toner will release and you can gently pull it away from the drum.
- Set the drum aside. You will need it to install the new toner cartridge.
- Unpack your new toner. Be sure to remove the orange protective clip from the cartridge before installation.
- Gently rock the cartridge back and forth over a trash can a few times to prep the toner.
- Grab your drum unit again, gently pull back on the green tab and slide the new toner into the drum unit.
- Slide both parts back into the printer, close up the front cover and you’re ready to start printing!
How to Replace a Brother Drum
A drum unit works in conjunction with your toner to transfer images onto a page. Drum cartridges do not need to be replaced as frequently as toners, usually after you go through 3 or 4 toners. If your printer’s display reads “Replace Parts Drum”, your drum unit is nearing the end of its life. You can sometimes prolong the replacement of your drum by cleaning the corona wire (see more on that below) or by removing the cartridge and gently rocking it back and forth a few times to redistribute the toner powder. We’ve included the replacement steps for a DR-730 drum in the Brother HL-L2350DW printer below. Steps vary depending on what printer you have, so be sure consult your printer manual for the steps related to your printer. You can also find an extensive list of Brother drum replacement instructions for most printer models on our support page here.
If those suggestions do not seem to improve matters, follow these steps for the proper replacement process:
- Make sure that the printer is on and press open the front cover.
- Remove the toner cartridge and drum unit from the machine.
- Push down the green lock lever and remove the toner cartridge from the drum unit.
- Unpack the new drum unit.
- Click the toner cartridge into the new drum unit until you hear it lock into place.
- Clean the corona wire inside the drum unit by gently sliding the green tab from left to right and right to left a couple of times.
- Install the toner cartridge and drum back into the printer.
How to Reset a Brother Drum
Do not close the front cover yet! First, you’ll need to inform your printer that you have installed a new drum. This resets the counter on your drum unit so it is able to once again keep track of its expected lifespan. The instructions on this will vary depending on what printer you have, so you will want to consult your specific manual for the appropriate steps. If you own an HL-L2350DW printer, follow these steps to reset the drum:
- Make sure the machine is on.
- Close up the front cover.
- Hold down the “OK” button and the “up” arrow at the same time.
- Press the “OK” button to select “Drum”.
- Select the “down” button to reset the drum counter. Now you can start printing!
How to Reset Brother Toner Life
If you recently installed a new cartridge and you are still getting a “Toner Low” message on your machine, you will probably need to manually reset the toner life. Sometimes when you replace a Brother toner the built in page counter, or what Brother calls the “toner life,” still needs to be reset. You will want to research the appropriate steps for your specific printer, since the steps vary a bit from machine to machine.
To reset the toner life of a Brother HL-2350DW, follow these steps:
- Open the front cover and leave open while completing the following steps.
- Turn the printer off.
- Hold the ‘go’ button while turning the printer on. All lights should be on.
- Release the ‘go’ button (or “start’ button).
- Press the ‘go’ button (or “start’ button) 2 times.
- Pause. All panel lights should be on.
- Press the ‘go’ button (or “start’ button) 5 times
- The toner light should be off. (error may be flashing)
- The paper light should be on or flashing.
- Close cover. The ready light should be the only light on.
Print Quality Issues
Getting spotty or streaky prints? Remove the toner from your printer and gently rock it back and forth over a trash can to redistribute the toner powder. You can also try cleaning the corona wire on the drum by sliding the green tab from right to left a few times. If you complete these troubleshooting steps and still aren’t getting the prints you want, it might be time to replace either the toner or the drum. The toner’s page yield should give you an idea of how many prints to expect from each cartridge and the drum should be replaced after every three or four toners. Your printer typically does alert you when it’s time to make the change. If you think the streaky prints are being caused by your drum, try cleaning it. To do this, carefully remove it from the printer. Place it on a flat surface with a paper towel underneath to prevent toner from spilling onto your desk or carpet. Gently wipe the drum roller with a dry, lint-free cloth. Make sure you do not touch the drum; it is incredibly sensitive!
Drum Not Fitting
The drum unit is a separate item from the toner cartridge and must be re-used. If the cartridge is not fitting or is too small, then you are probably not installing the cartridge into the separate drum unit. Make sure that you have separated the old drum unit from the old toner cartridge and are re-using the drum unit with the new toner. Brother’s monochrome printers can go a long way if cared for properly. Regular upkeep and maintenance ensures your printer can continue operating at peak performance. Although there are differences between machines in terms of function their basic troubleshooting steps are universal.


Now that you’re an expert on the Brother’s monochrome series you can maintain the life of your printer with confidence. If you have any questions or suggestions on what we might have missed, drop us a line. This guide will be kept current. If new updates or error messages come about we will definitely add them here!
