


Quick Answer: To print a test page, open your computer’s printer settings, select your printer, and click Print Test Page. On most printers, you can run a test page from the control panel under Maintenance or Settings.
When prints look faded, streaked, or misaligned, a quick printer test page can pinpoint the cause. This guide explains what a test page shows, when to use it, and how to print one from your computer or directly from your printer—plus how to read the results to fix common issues fast.
Why Should I Print a Test Page?
- Confirm connection – make sure your printer is linked and responding
- Check print quality – verify text sharpness, color accuracy, and alignment
- Spot common issues – streaks, faded colors, or missing lines may indicate clogged nozzles or low ink
- Prevent drying – if you rarely print, periodically run a test page to keep ink flowing

What’s Included on a Printer Test Page?
- Color bars (check each ink color)
- Grayscale blocks (check contrast)
- Alignment patterns (spot misalignment)
- Text samples (test sharpness)
- Printer details (model and driver information)
When Should I Print a Test Page?
- After installing a new printer – confirm setup and connectivity
- After installing a new cartridge – make sure ink flows correctly
- When print quality drops – lines, smears, fading, or blanks
- As part of regular maintenance – if a printer sits unused, the ink can dry
How Do I Print a Test Page?
You can download our ready to print test pages in either color or gray scale without going through the printer or computer.
Print from Printer’s Control Panel
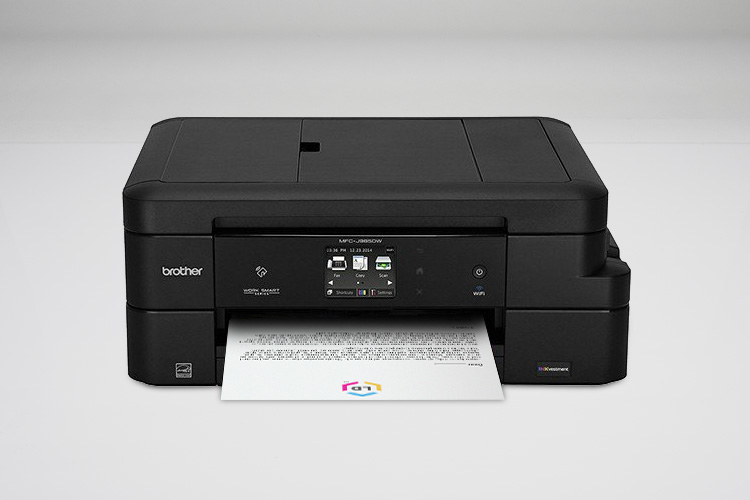
Many printers (HP, Brother, Canon, Epson) allow you to run a test print directly from the control panel. Please check your manual for specific instructions, below are the instructions for how to print a test page in the Brother MFC-J1010DW.
- Press the ink droplets icon
- Use the arrows to select Improve Print Quality and press OK
- Press the right arrow and OK to start the test print
- Check the test page – if all lines are clear, press the back arrow and select ‘No’
- If lines are missing or issues:
- Press the right arrow to select ‘Yes’
- Use the arrows to choose the pattern (1-4) that matches your results and press ‘OK’
- If cleaning is needed, press the right arrow to start printhead cleaning
- After cleaning, the printer will ask you to check print quality again, select ‘Yes’
Print from Windows 11:
- Make sure your printer is on
- Settings > Bluetooth & Devices > Printers & Scanners
- Select your printer > Print test page
Print from Windows 10:
- Make sure your printer is on
- Settings > Devices > Printers & Scanners
- Select your printer > Manage > Print test page
Print from Mac or macOS:
- Go to System Settings/Preferences
- Select Printers & Scanners
- Choose your printer > Options & Supplies > Utility > Open Printer Utility > Print Test Page
How Can I Troubleshoot Printer Test Page Issues?
| Issue | Likely Cause | Fix |
|---|---|---|
| Streaks, lines, or gaps in colors/text | Clogged printhead or low ink/toner | Run printhead/nozzle cleaning → reprint test page → replace cartridge, if needed |
| Faded or dull colors | Low ink/toner or old cartridges | Replace cartridge → reprint test page |
| Missing colors | Empty cartridge or clogged nozzles | Check ink/toner levels → clean printhead → replace cartridge |
| Misaligned text or colors | Cartridge not seated properly or alignment off | Run alignment utility → reseat cartridge → check paper path |
| Blurry or distorted text | Dirty rollers or mechanical issue | Clean rollers → check for paper jams → realign cartridges |
| Printer not responding to test page command | Connection issue (USB/Wi-Fi) or driver problem | Reconnect printer → restart printer & computer → update/reinstall driver |
FAQs about Printer Test Pages
Q1: What is a printer test page?
A printer test page is a diagnostic page that checks your printer’s performance and print quality. It shows if colors are accurate, text is sharp, and alignment is correct. Printing a test page helps you spot problems like streaks, missing colors, and faded or blank prints so you can quickly identify and fix issues.
Q2: What does a printer test page show?
A printer test page displays important details such as your printer name, driver information, alignment patterns, and color blocks. These elements help you see if text is sharp, colors are printing correctly, and the printhead is working properly. Many users rely on test pages to detect clogged nozzles, poor color accuracy, or alignment problems.
Q3: Do test pages waste ink or toner?
No, test pages use only a small amount of ink or toner to produce diagnostic patterns.
Q4: Why does my test page show streaks or gaps?
Streaks, lines, or missing sections on a test page usually mean the printhead is dirty, clogged, or the cartridge is running low on ink or toner. Running a cleaning often fixes this. If the problem persists, you may need to replace the cartridge or perform a deeper maintenance process.
Printing a test page is an easy, effective way to keep your printer running smoothly. By following the steps above, you can catch connection issues, low cartridges, or print quality issues before they waste your supplies. Need reliable ink or toner at the best value? Shop LDProducts.com for quick reordering, expert support, and affordable supplies. Trusted by over 8 million customers for 25+ years.


Leave a Reply