

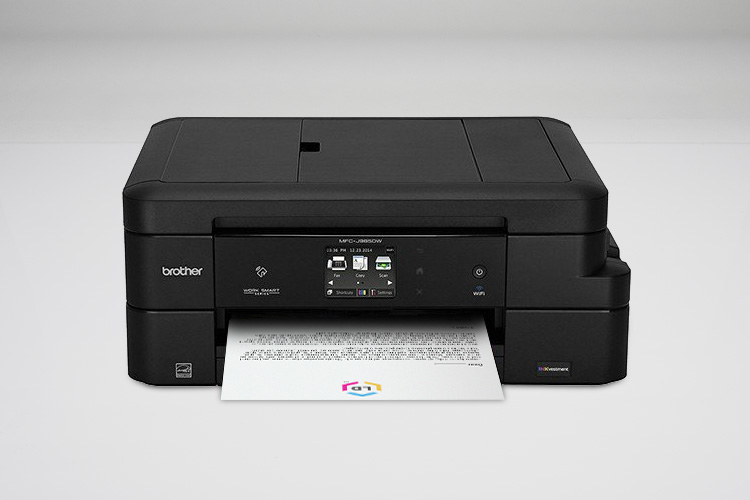
Epson’s Expression Photo XP-8500 printer is a compact, all-in-one machine that’s built for the budding photographer. Print, scan and copy functions come standard and a touch panel makes it easy to print on the go. Capable of producing vibrant colors and borderless photos up to 8”x10”, you get gallery ready prints from the comfort of home. In this guide, we cover simple cartridge installation steps and break down the cartridge specs so you can get more from your machine. Let’s get started!
Check out our short Epson®312 cartridge installation video below. Or, continue reading to learn more about the 312 cartridge series and how you can save on printing costs!
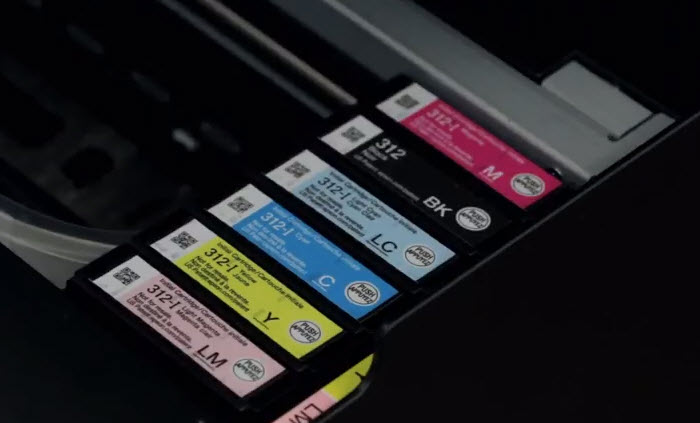
Cartridge Specs
Epson sells the 312 series in two different sizes, a standard yield and high yield, or XL size. The high yield option is a better value for frequent users due to their higher ink capacity. Cartridges are offered in 6 colors: black, cyan, magenta, yellow, light cyan and light magenta. If you are new to photo printers, you may be wondering why there are two different cyan and magenta cartridges. The light cyan and light magenta help produce a wider range of color in your prints, providing more accuracy and improved detail. All of the cartridges contain dye-based ink, which is best suited for vibrant, true to life color prints and photos.
Ways to Save on Cartridge Costs
Cartridge replacements can get expensive. If you are looking to save money, consider buying LD Products brand compatible Epson 312XL ink cartridges. These cartridges will be available soon at a fraction of the price of the original brand and are backed by an industry best lifetime guarantee. We will be selling original cartridges soon as well, find out more on our Epson XP-8500 printer page.

Epson 312 Black Ink Cartridge (T312120)
Page yield: approx. 240 pages
OEM ink type: dye-based
Epson 312 Cyan Ink Cartridge (T312220)
Page yield: approx. 360 pages
OEM ink type: dye-based
Epson 312 Magenta Ink Cartridge (T312320)
Page yield: approx. 360 pages
OEM ink type: dye-based
Epson 312 Yellow Ink Cartridge (T312420)
Page yield: approx. 360 pages
OEM ink type: dye-based
Epson 312XL High Yield Black Ink Cartridge (T312XL120)
Page yield: approx. 500 pages
OEM ink type: dye-based
Epson 312XL High Yield Cyan Ink Cartridge (T312XL220)
Page yield: approx. 830 pages
OEM ink type: dye-based
Epson 312XL High Yield Magenta Ink Cartridge (T312XL320)
Page yield: approx. 830 pages
OEM ink type: dye-based
Epson 312XL High Yield Yellow Ink Cartridge (T312XL420)
Page yield: approx. 830 pages
OEM ink type: dye-based
How to Check Your Ink Cartridge Levels
If you are getting poor print results, the first thing you’ll want to do is check the ink levels on your printer’s display. You can do this by looking at the ink levels on your printer’s display. If one of your cartridges is running low, select “next” and then select “yes, replace now” to start the replacement process. You can also replace a cartridge by selecting “Maintenance>Ink Cartridge Replacement” on your printer’s display. Then select “next” and “start.”
How to Replace an Epson 312 Ink Cartridge
- To begin the replacement process, check the cartridge levels on your printer’s display. In our example, we will be replacing the Epson 312 black ink cartridge.
- Select “next” and then select “yes, replace now” on the display screen to start the replacement process. You can also replace a cartridge by selecting “Maintenance>Ink Cartridge Replacement” on your printer’s display. Then select “next” and “start.”
- To replace, lift the entire scanner unit up and wait for the carriage to center.
- You can remove the depleted cartridge by gently pulling on it. It should pop up and easily remove with a little shaking motion.
- Remove the new cartridge from its packaging. Before you install, be sure to remove the orange clip on the bottom of the cartridge. This clip protects the cartridge while it is in transit, and the cartridge will not fit in your printer if it is left on.
- You will also want to remove the piece of yellow tape on the top of the cartridge. Gently pull on the tape to remove, this will expose the vent hole on the cartridge so it can work properly in your machine.
- Now you are ready to install! Double check to make sure you are installing the cartridge. The “K” on the cartridge should line up with the “K” in the machine. Line the cartridge up with the carriage in the machine and gently press on it so that it clicks in place.
- Close up the top cover and select “Completed” on the LCD display.
We hope you’ve found this installation guide informative! If you have any questions about the installation process or about your Epson 312 ink cartridges, please reach out to us, we’d be happy to help!


Leave a Reply